- From your ClickBid event dashboard, go to Event Tickets.
- Select the ticket page you want to deactivate.
- Click Ticket Page Settings.
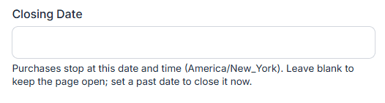
- Locate the Closing Date field under General Settings.
- Set the closing date and time to a time in the past.
- Your changes will save automatically.
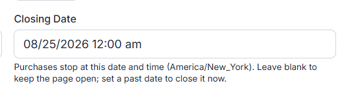
Once the closing date has passed, guests will no longer be able to make ticket purchases through that ticket page.
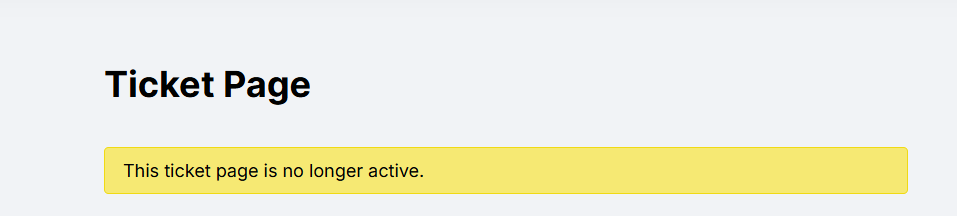
Need to Close the Page Immediately?
If you need to stop ticket sales right away, simply set the Closing Date to a date and time that has already passed. This immediately prevents additional ticket purchases from being accepted.
Keep Your Event Time Zone in Mind
Closing dates and times are based on the time zone set for your event.
To confirm your event's time zone, go to:
Auction Settings > General Event Details
Make sure the correct time zone is selected before setting your closing date and time.
💡 Helpful Tip:
Deactivating your ticket page does not remove your existing ticket sales or guest records. Your previous purchases and guest information remain available within ClickBid.
You can continue to access your ticket sales by going to Event Tickets > View Ticket Sales.
Need to Reopen Your Ticket Page?
If you decide to accept ticket purchases again, return to Event Tickets > Ticket Page Settings and update the Closing Date to a future date and time. If you want the page to remain open indefinitely, the Closing Date can be left blank.